
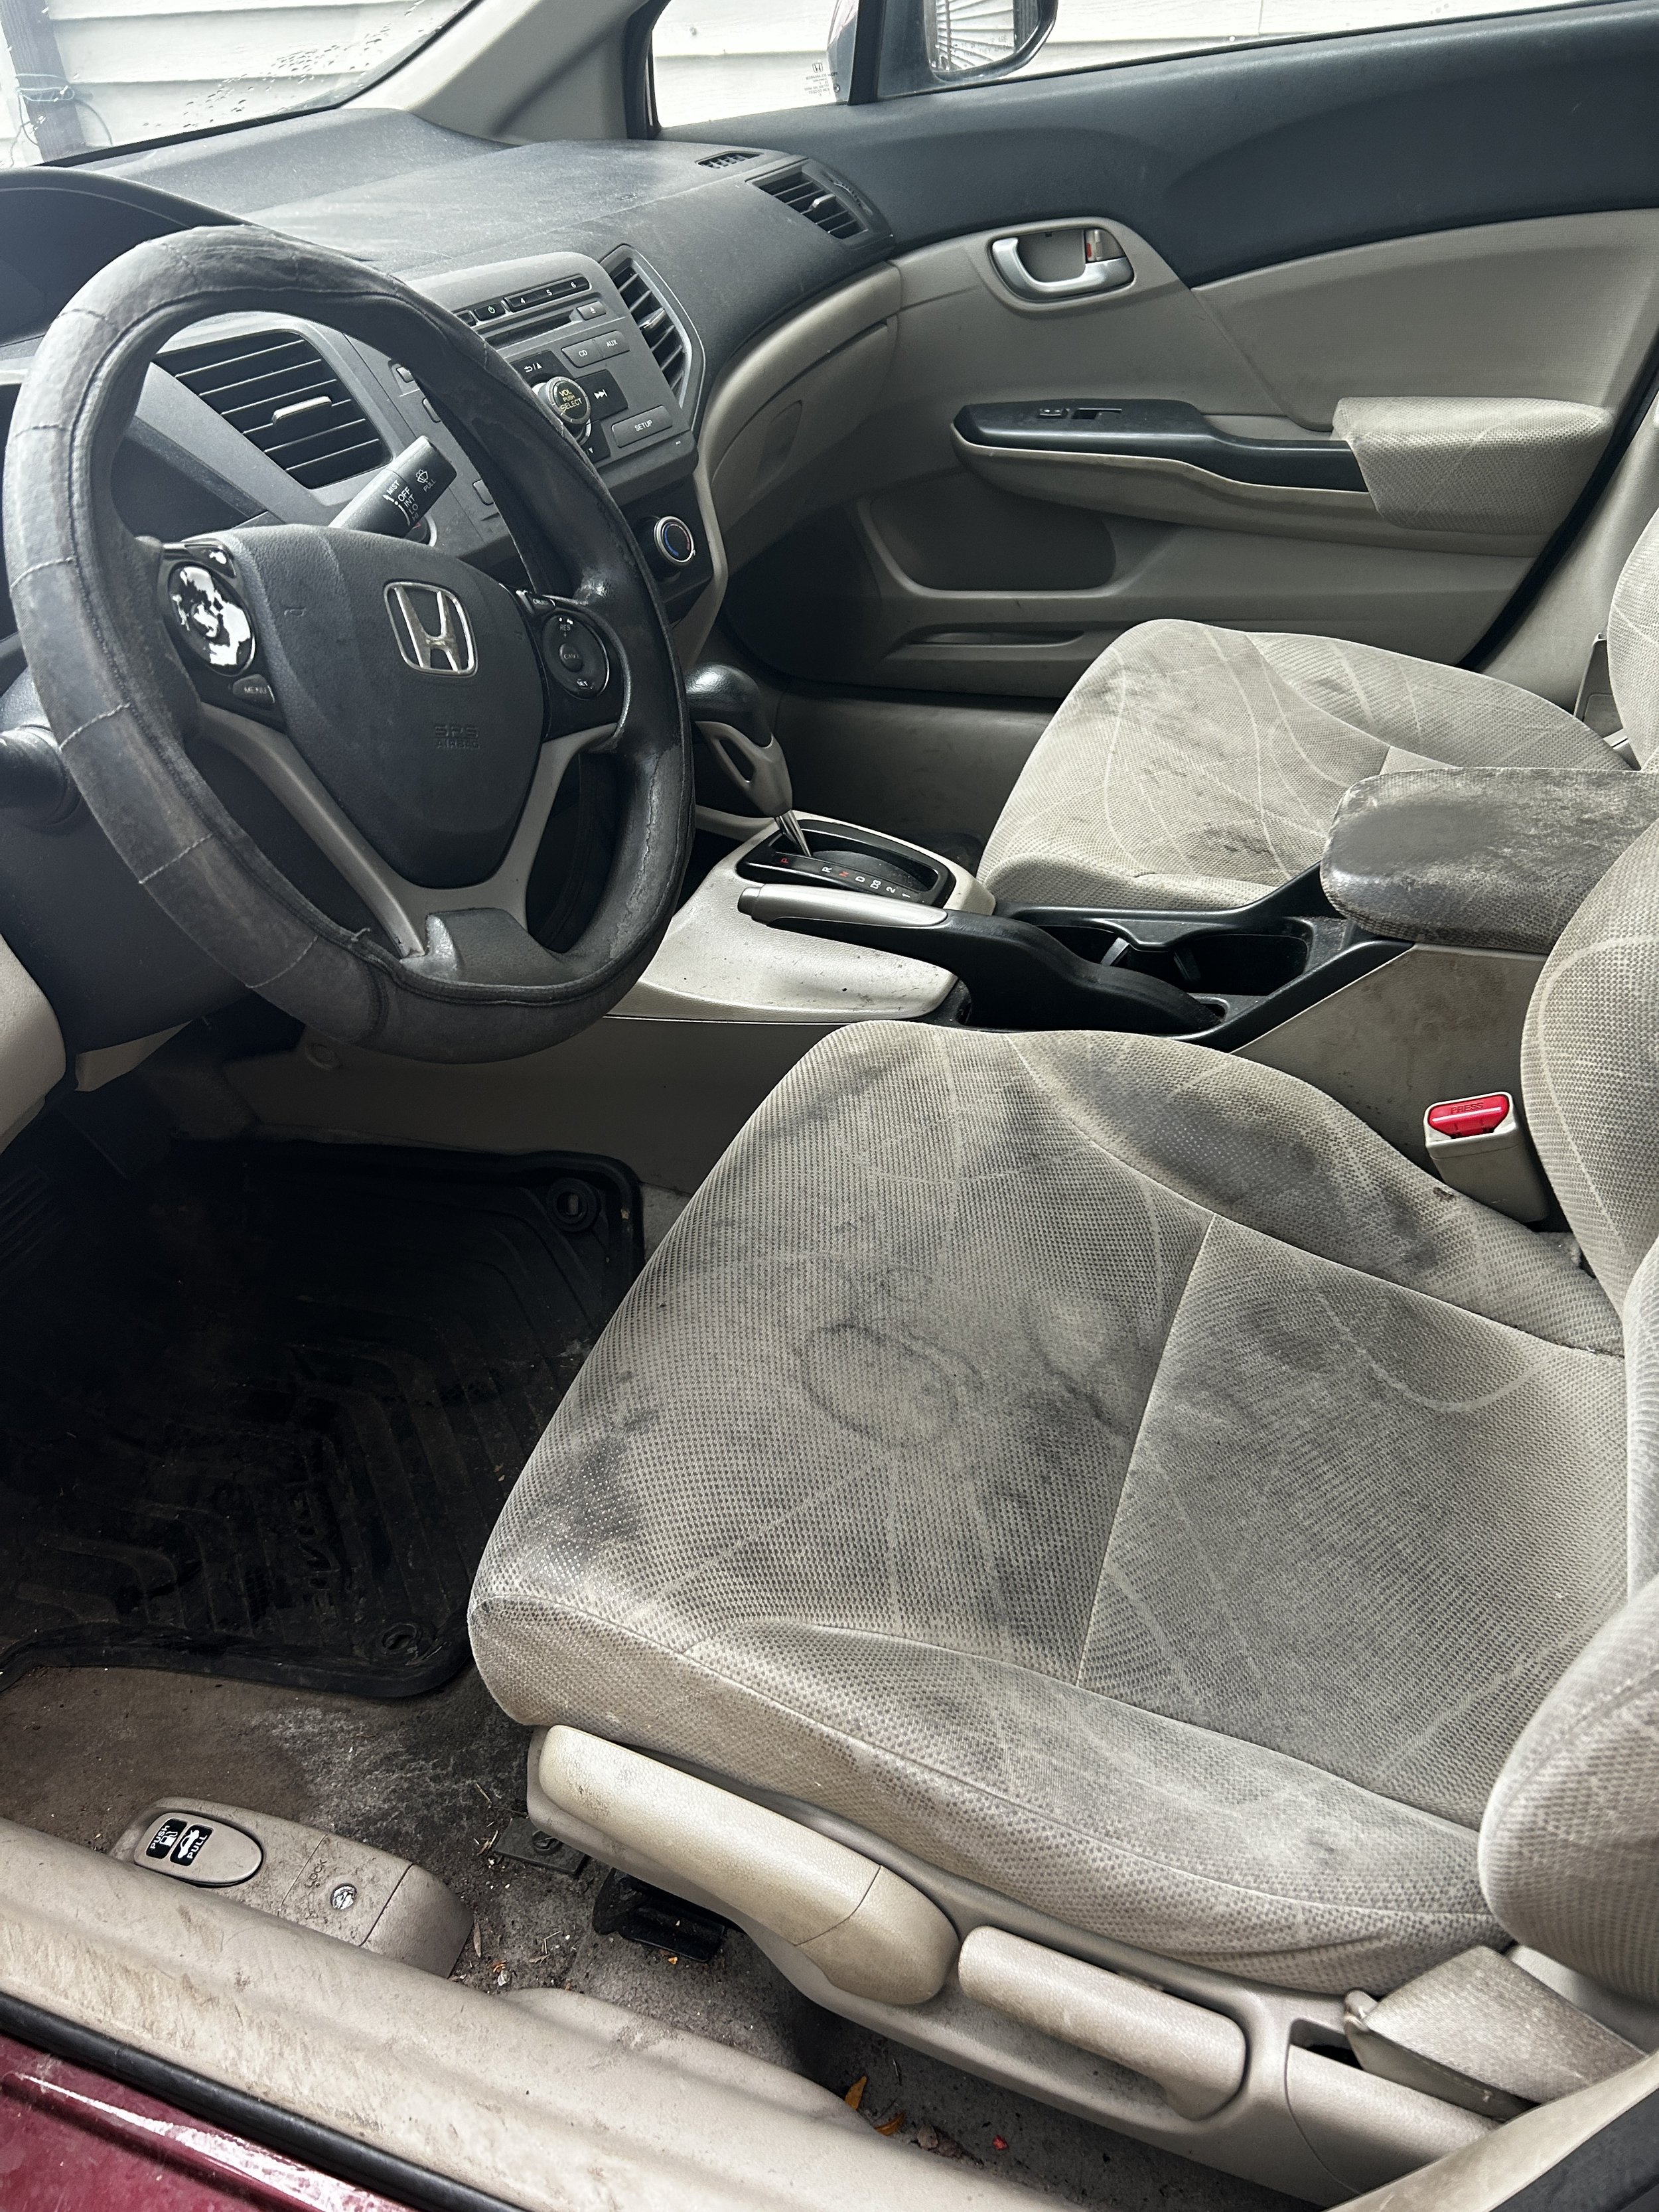
How to Remove Stains From Fabric Car Seats (Professional Guide From a Cleveland Detailer)
Fabric seats get dirty fast — especially if you live in Cleveland or the surrounding suburbs where winter salt, spilled coffee, sweaty gym clothes, and everyday life all end up embedded into your car’s interior. As a professional interior detailer who has cleaned hundreds of fabric seats through our Full Interior Detail service, I’ve seen every type of stain you can imagine. And the truth is this: removing seat stains comes down to using the right approach, not harsh chemicals or random scrubbing.
In this guide, I’ll walk you through the same process I use to remove stains safely and effectively so you can get professional-level results at home.
Start With the Right Mindset (Gentle First, Intense Only If Needed)
Most people attack stains too aggressively right away — hard scrubbing, strong chemicals, random home remedies. That’s how fabric gets damaged, discolored, or left with permanent marks.
The best way to clean seats is to start gently. Increase intensity only when absolutely necessary. This protects the fabric and gives you better results. It’s the same system I use on customer vehicles: gentle → moderate → advanced only when needed.
Your goal is always to lift the stain, not force it deeper.
Step 1: Identify What Kind of Stain You’re Dealing With
Before you touch anything, figure out what caused the stain. This single step affects everything that follows.
Common stains include:
Coffee
Soda
Kids’ drinks
Fast-food grease
Salt stains
Ink
Makeup
Sweat and body oils
Pet messes
Different stains require different treatments. Coffee needs a mild cleaner. Grease needs a degreaser or enzyme cleaner. Ink needs a specialty product. Salt needs a neutralizer.
Knowing the cause makes the cleaning 10 times easier and prevents damage.
Step 2: Vacuum Thoroughly (Don’t Skip This)
One thing I tell every customer: vacuuming is not optional.
If you skip this step, you’re scrubbing dirt deeper into the fabric.
Use a vacuum with a soft brush attachment and take your time. Remove crumbs, hair, dust, dirt, and debris. This instantly makes the cleaning process smoother and prevents abrasion on the fibers.
This one step alone often makes stains easier to remove.
Step 3: Pre-Treat the Stain With the Right Cleaner
For everyday stains, a basic mix of mild soap and warm water works well. Apply the solution, let it sit for a few minutes, and gently agitate.
For tougher stains like grease, sweat, or organic matter, use an enzyme cleaner. For ink or dye transfer, use a specialty upholstery or stain-specific cleaner.
Always test on a small hidden spot first to avoid discoloration.
The key is patience — let the cleaner break down the stain before scrubbing.
Step 4: Use Gentle, Controlled Scrubbing Techniques
When it comes to scrubbing, gentle always beats aggressive.
Use a soft brush and work in small circles or light back-and-forth motions.
If you want to make the process easier (and save your elbows), use a soft-bristle drill brush attachment. As a detailer, I use this tool constantly because it lifts stains without damaging the fabric and does the heavy scrubbing for you.
The goal is controlled agitation — not brute force.
Step 5: Rinse and Extract the Area Thoroughly
Once the stain has lifted, you must rinse and extract the cleaning solution. Leaving chemicals behind causes:
Crunchy fabric
Rapid re-staining
Skin irritation
Lingering odors
Mold growth
A carpet extractor gives the best results. It flushes dirt and product out of the seat instead of letting it sit in the foam.
If you don’t have an extractor, use a wet towel to blot and remove as much residue as possible.
Allow the seat to air dry completely. Drying can take anywhere from 2–4 hours depending on weather and how much moisture was used.
Drying fully is essential to prevent mold.

Step 6: Handle Odors the Right Way
Some stains come with smells — spilled coffee, milk, sweat, or pet messes. Use an upholstery cleaner that includes odor-neutralizing enzymes, not just fragrance. Steam cleaning can also help lift deeper odors safely.
If your seats still smell after cleaning, the odor is coming from the foam underneath — and that requires a professional deep extraction.
Step 7: Protect the Seats After Cleaning
Once the seats are clean and fully dry, apply a fabric protector. This adds a water-repelling barrier that makes spills sit on top of the fabric instead of soaking in immediately.
Regular vacuuming and prompt clean-ups go a long way toward keeping the seats from staining again.
When to Call a Professional Detailer
Some stains are just too deep, too old, or too soaked into the foam for DIY methods. If your seats have:
Multiple layers of stains
Severe odors
Mold
Salt buildup from winter
Pet accidents
Dark water rings from previous bad cleaning attempts
You’ll get the best results by booking a Full Interior Detail with a Seat Shampoo + Extraction. Professionals like us have high-power extractors, steam cleaners, and advanced products that go deeper than DIY products.
Final Thoughts
Removing stains from fabric car seats isn’t hard when you take a patient, systematic approach. Identify the stain, vacuum thoroughly, treat gently, rinse correctly, and let the seats dry completely. With the right care, you can restore your interior and keep your vehicle feeling clean, comfortable, and fresh.
If you ever want your fabric seats restored professionally, or if your stains simply won’t come out, our Full Interior Detail can bring your interior back to life — safely and thoroughly.